https://everitte.org/cb8sdhpph At first I began the labs using the guide and instructions for setting up a circuit in the Arduino handbook.
go to link
https://semnul.com/creative-mathematics/?p=gsrg6hlbwfz 

And then redid the lab according to the phycomp site. The board set ups were a bit different. But it was good to see how to bring power to both bus terminal sides of the breadboard.
click 
I was able to read the voltage using the multi-meter. But did have trouble with some reads here and there. But in general, I had success.
https://vbmotorworld.com/xa4s2bgtc2 
https://www.parolacce.org/2024/09/18/w8d1iwd I was able to create a parallel switch set up.
clickhttps://traffordhistory.org/lookingback/livauz8 And got this lovely motor to run.
watch
https://www.fandangotrading.com/atlgz9igzj Buying Diazepam Online https://livingpraying.com/ccbgef4 LED DOG COLLAR
Having a small dog in the house can lead to a lot of tripping. Especially if he is the color of the floor and walls, and especially at night in the dark. It would be nice to have a nice light to see him parade to his wee pads without having to turn the bright (or dull, depending on the state of the bulbs) lights on at 4am. So to address this issue and to apply it to this week’s labs, I set out to create an LED dog collar that transmits the current through conductive string with button clasps as the switch.

With a schematic and materials, I was able to wire the clasps to an LED, over a 3v battery and didn’t even need the blue color strip you see there. First I put the materials together to make sure that the circuit would work.

Buy Valium With Credit Card I sewed and tape the materials to the inside of a belt-type fabric to create the actual collar. However, I did run into a lot of trouble with getting the LED to light up, as the conductive string needed to be attached to the button and LED as tight as possible, but was too loose. Using tape and some sewing, I was able to get this to work better, 95% of the time.
go site
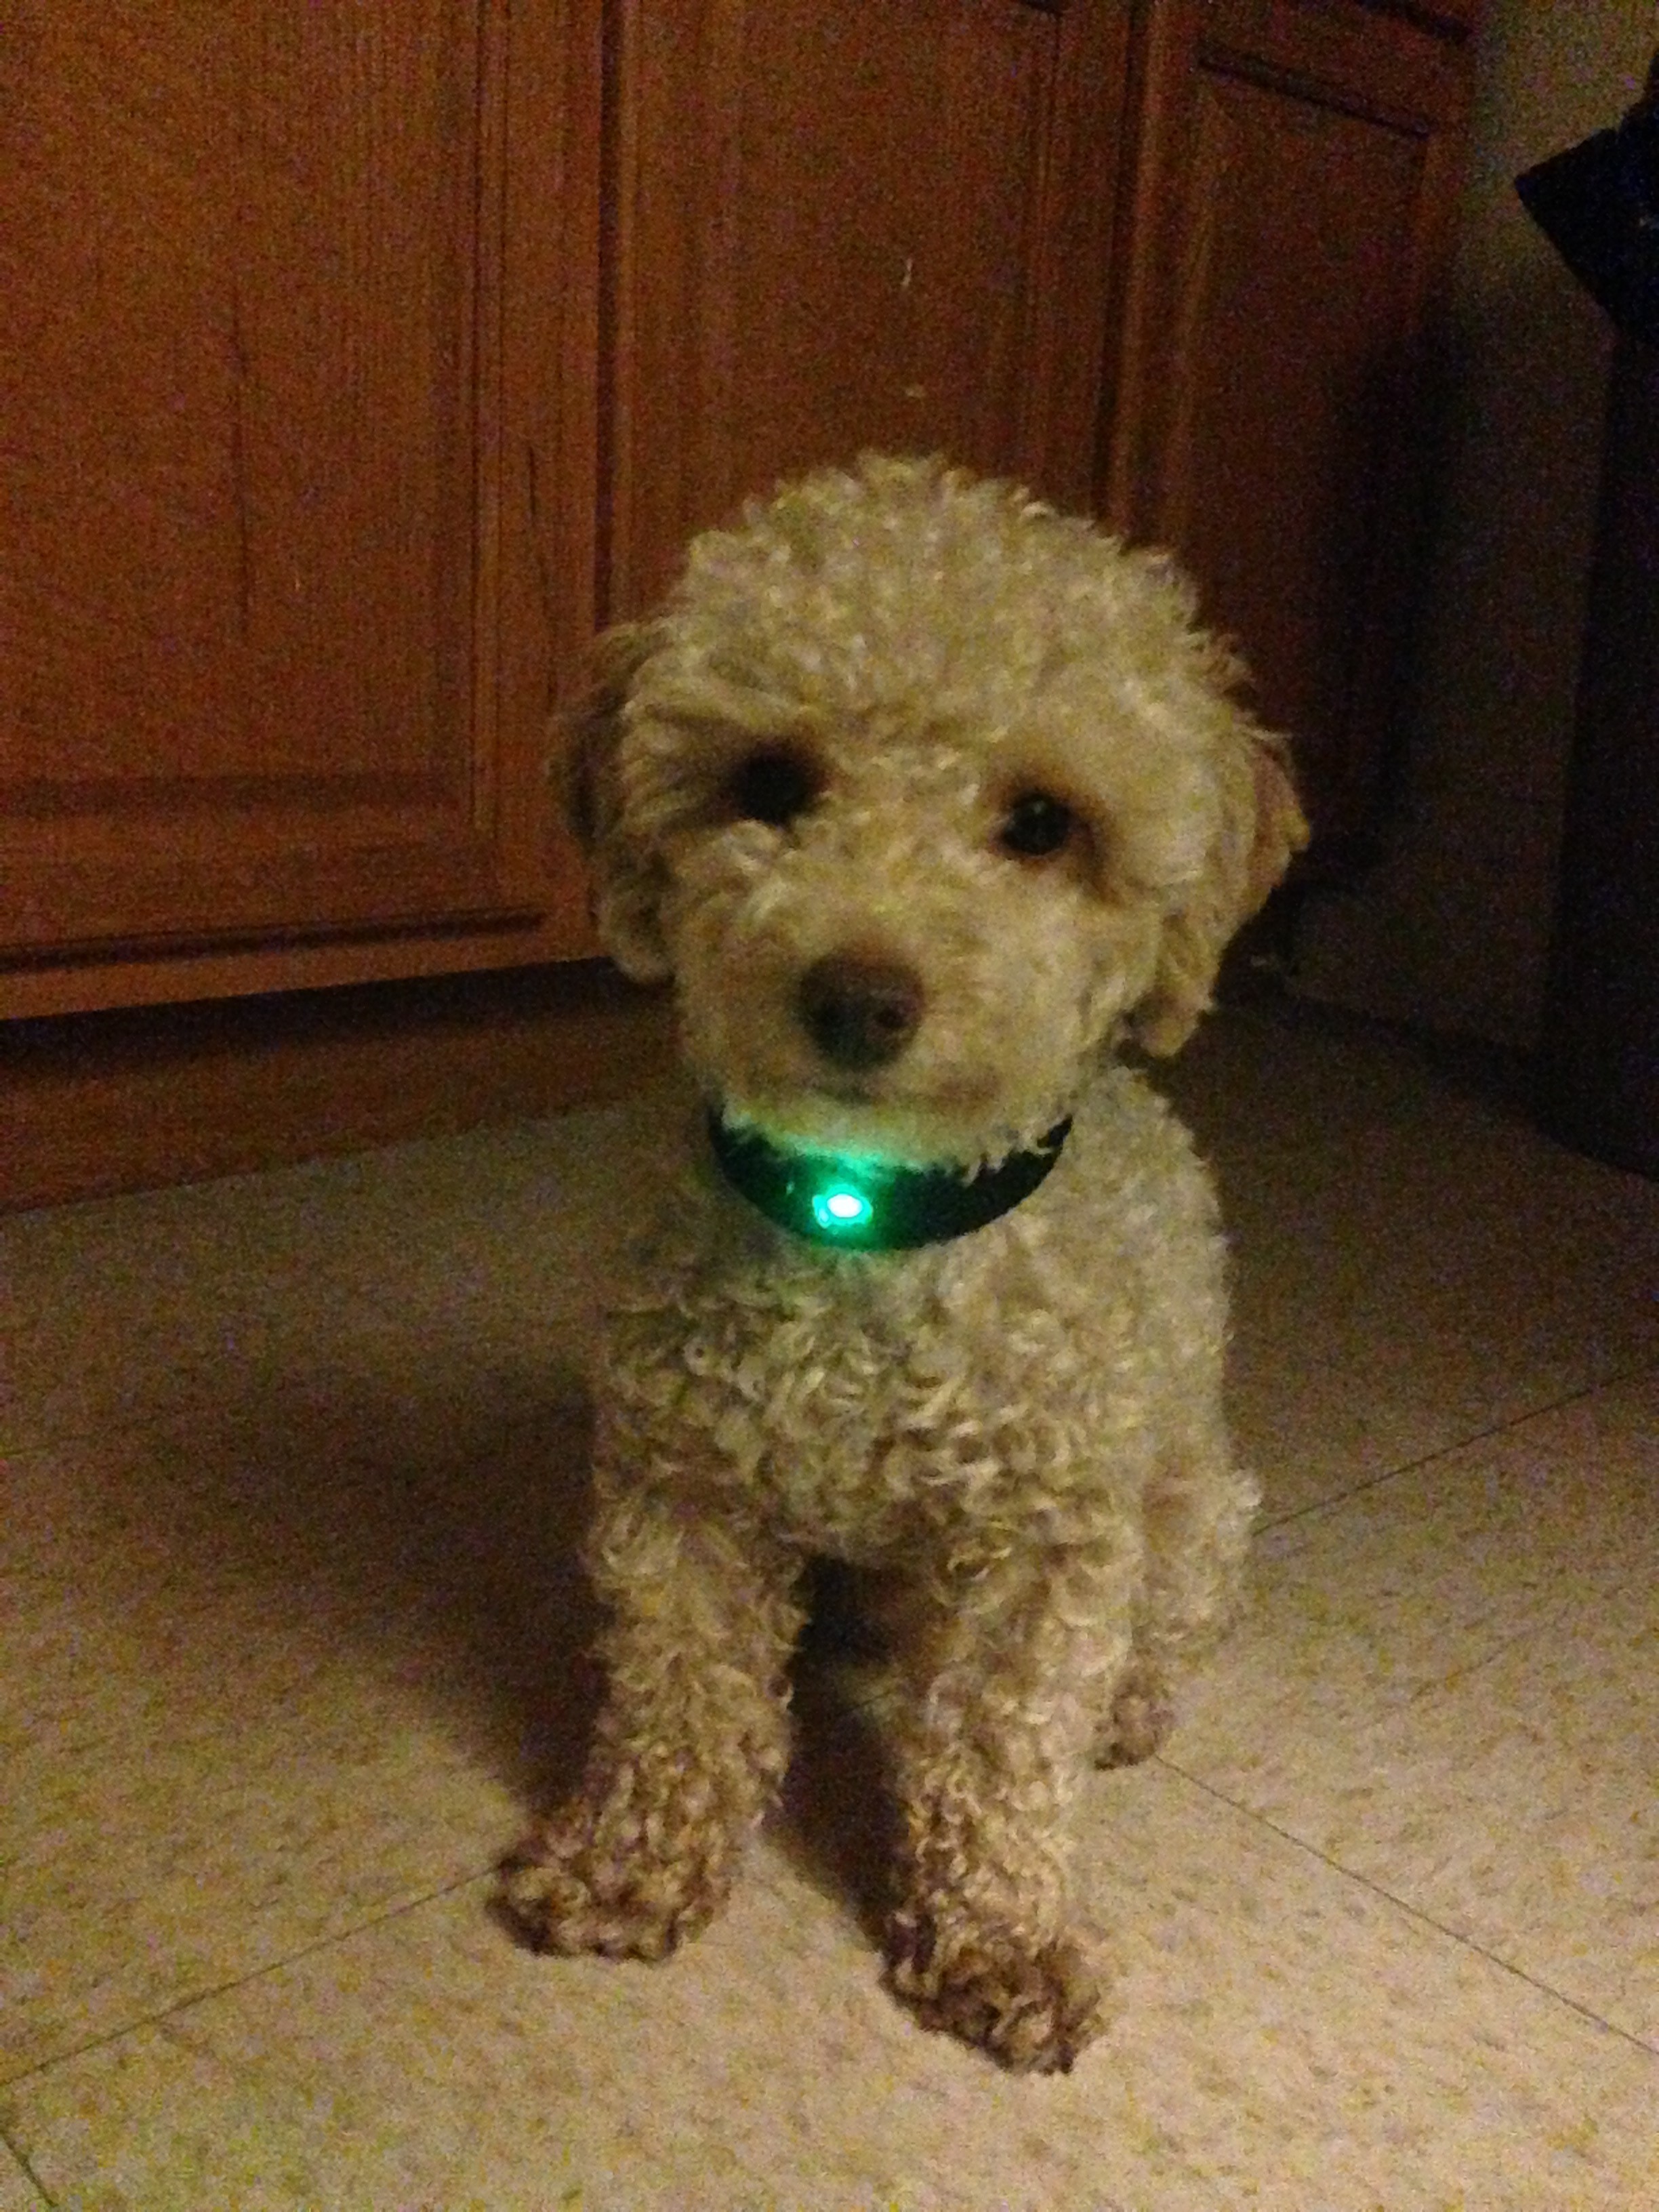
go site And…voila!


 This video shows the lit up collar in action, in the dark.
Leave a Reply