Design Challenge:
Create a design based on algorithmic code in Processing.
The Process
Using the various examples from class, I tested out the different generative and reactive algorithms to create something unique. I gravitated more toward the Clip Necklace, Contours and Mirror sketches.
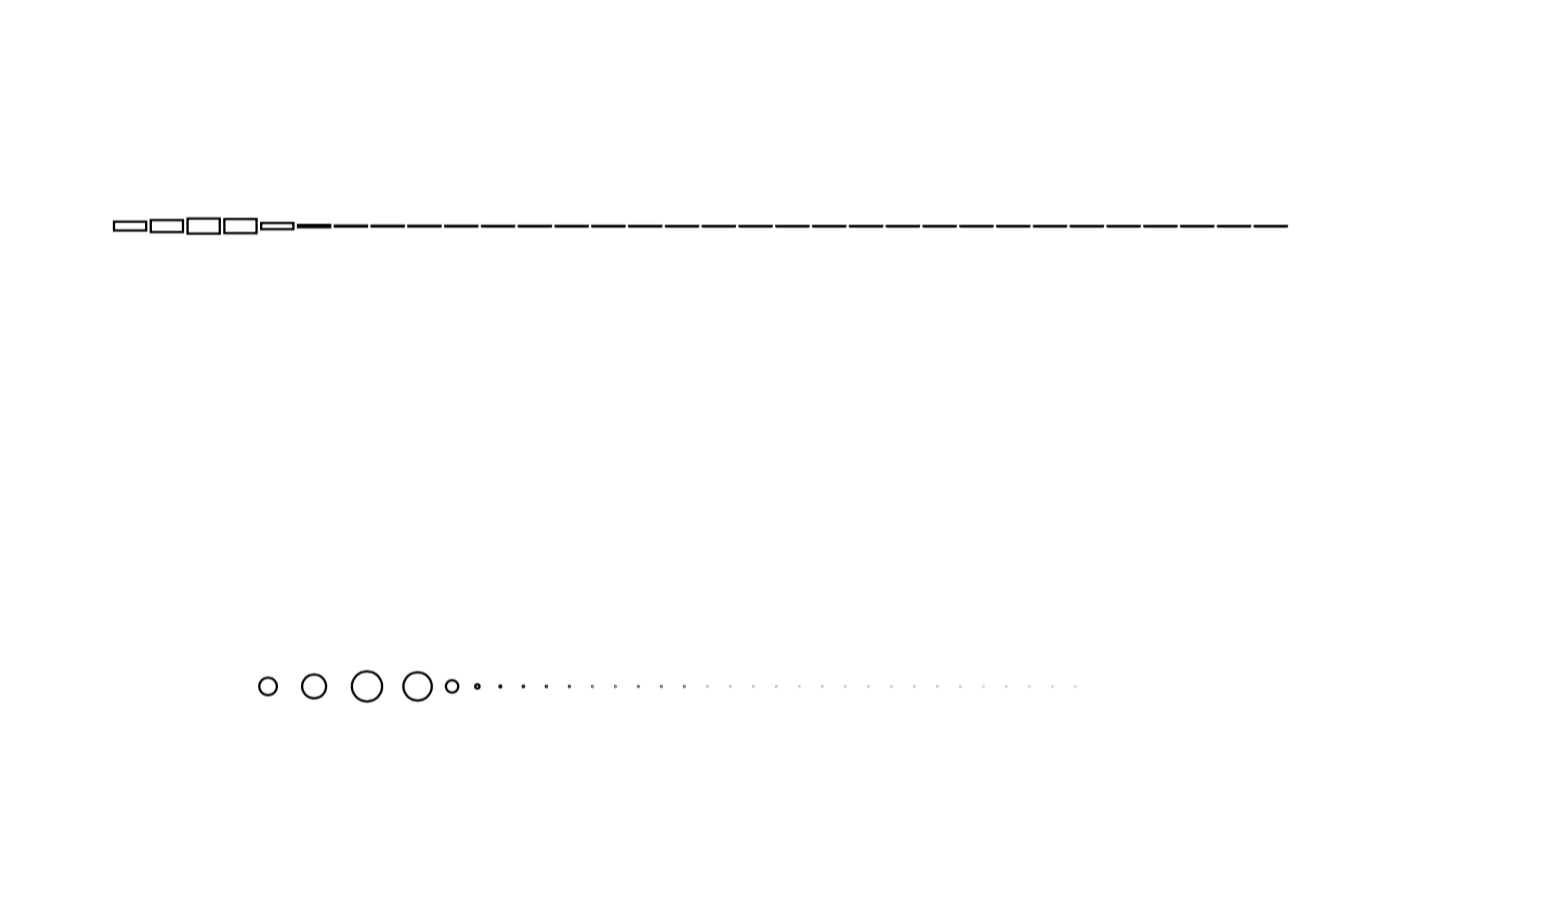
For the Clip Necklace, I brought in my own sound clip. The goal was to use my dog’s barking to generate a pattern. I played around a bit with the shapes, but it was difficult to capture the dynamic contrast with the keypress, as the barks and spikes in shape sizes were short bursts.
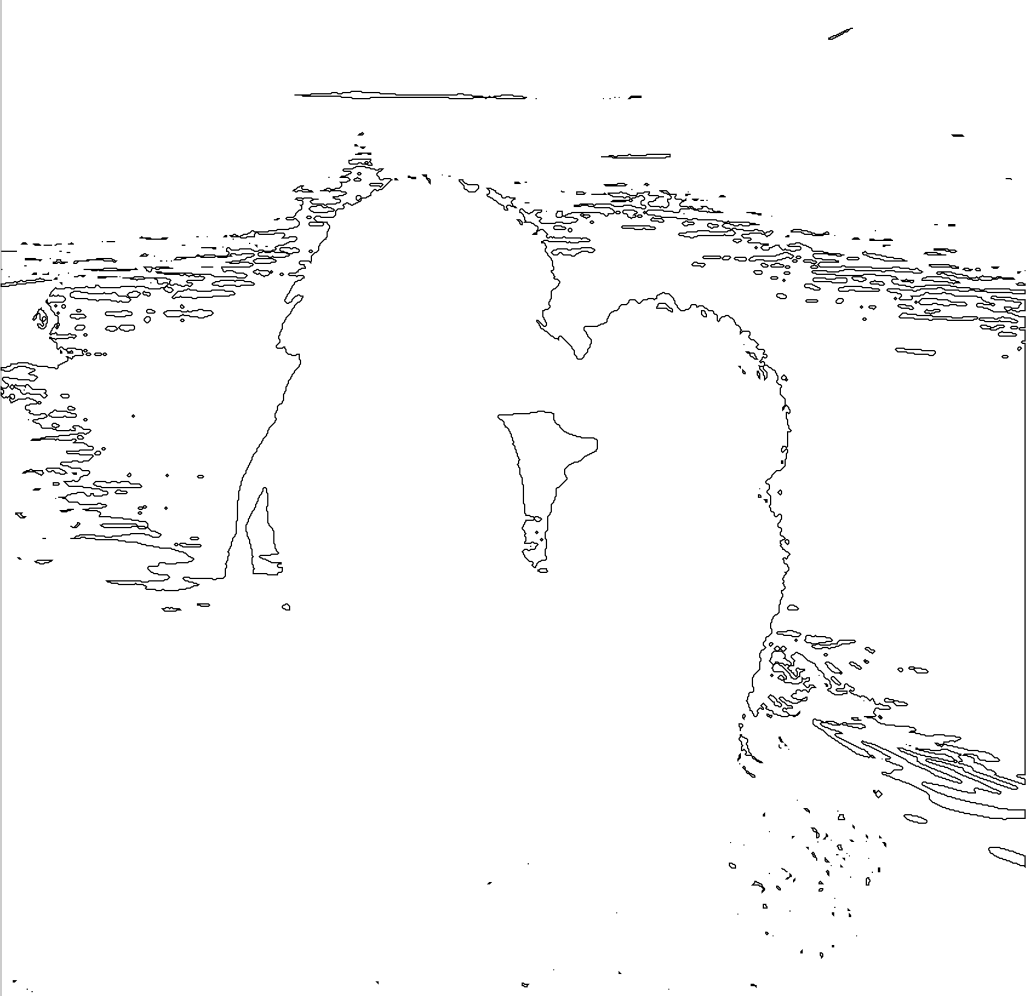
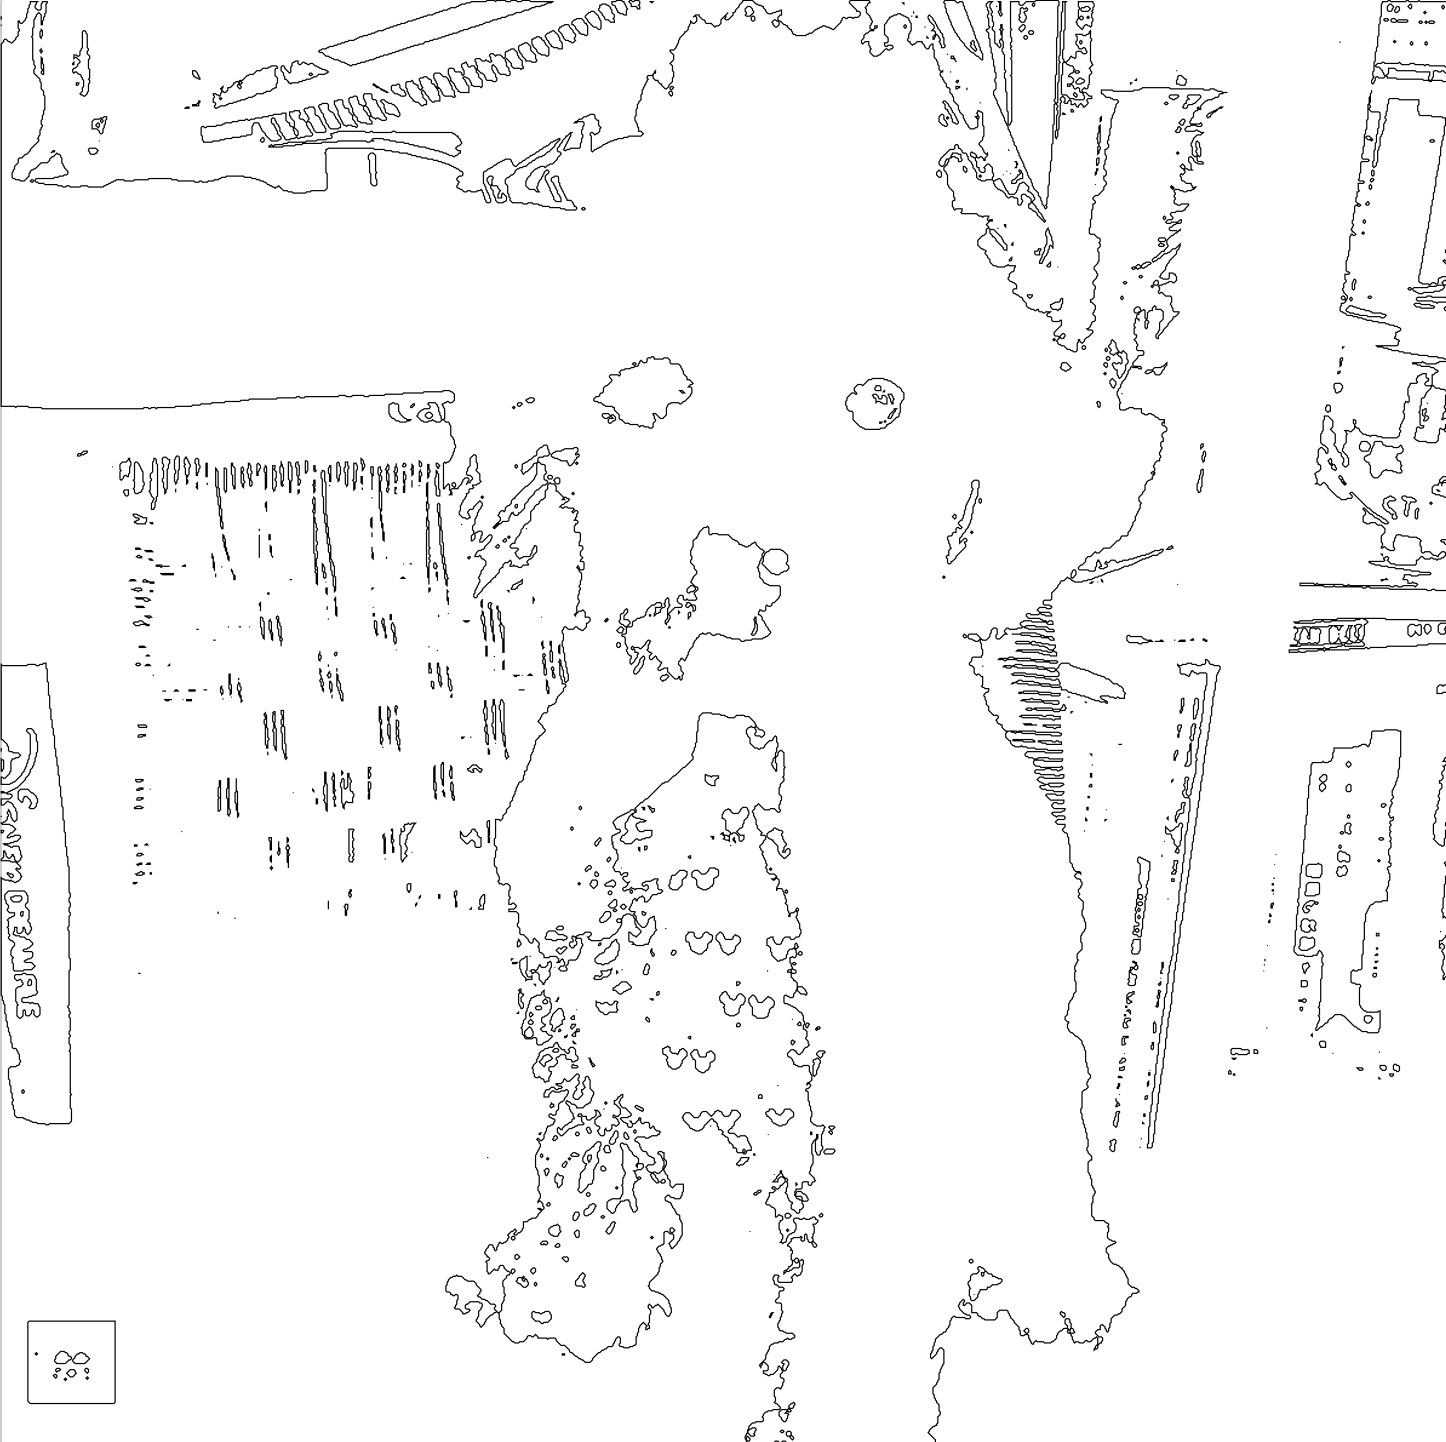
I played with the Contours sketch by changing the image several times. Due to the curls on the subject, the contours turned out in blobs, that didn’t quite convey the image properly and perhaps not show up well in etching.
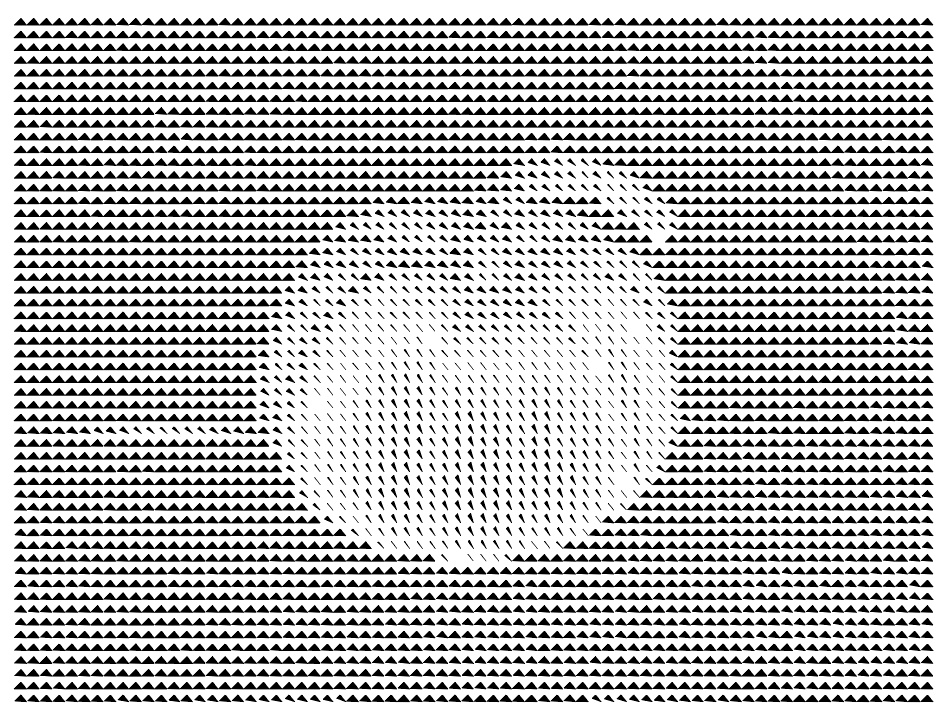
So I then decided to tackle the Mirror algorithm. Instead of circles I tested out triangles, trying to choose the appropriate coordinates, making sure to pass through the right variables to get the shapes to reflect the the video.
 triangle(x + cellSize/2, y + cellSize/2, x, y+cellSize, x+CircleSize, y+CircleSize);

}

The shapes reflected in the pattern has somewhat of a desert aesthetic so I wanted to capture a cactus for the image. The cactus that I have was not a good candidate to play the role of “cactus” as it did not come through well as one in the mirror. So I switched to Playmobil toy cacti, and set up a scene. The color was too light to pick up any contrast. So in the end I stuck with nature but switched to a small white pumpkin. Surprisingly, this provided the perfect contrast and was picked up nicely in the capture.
However, exporting it to DXF created a very different appearance – the boxes were not filled in. I fixed that in illustrator.
The Cut
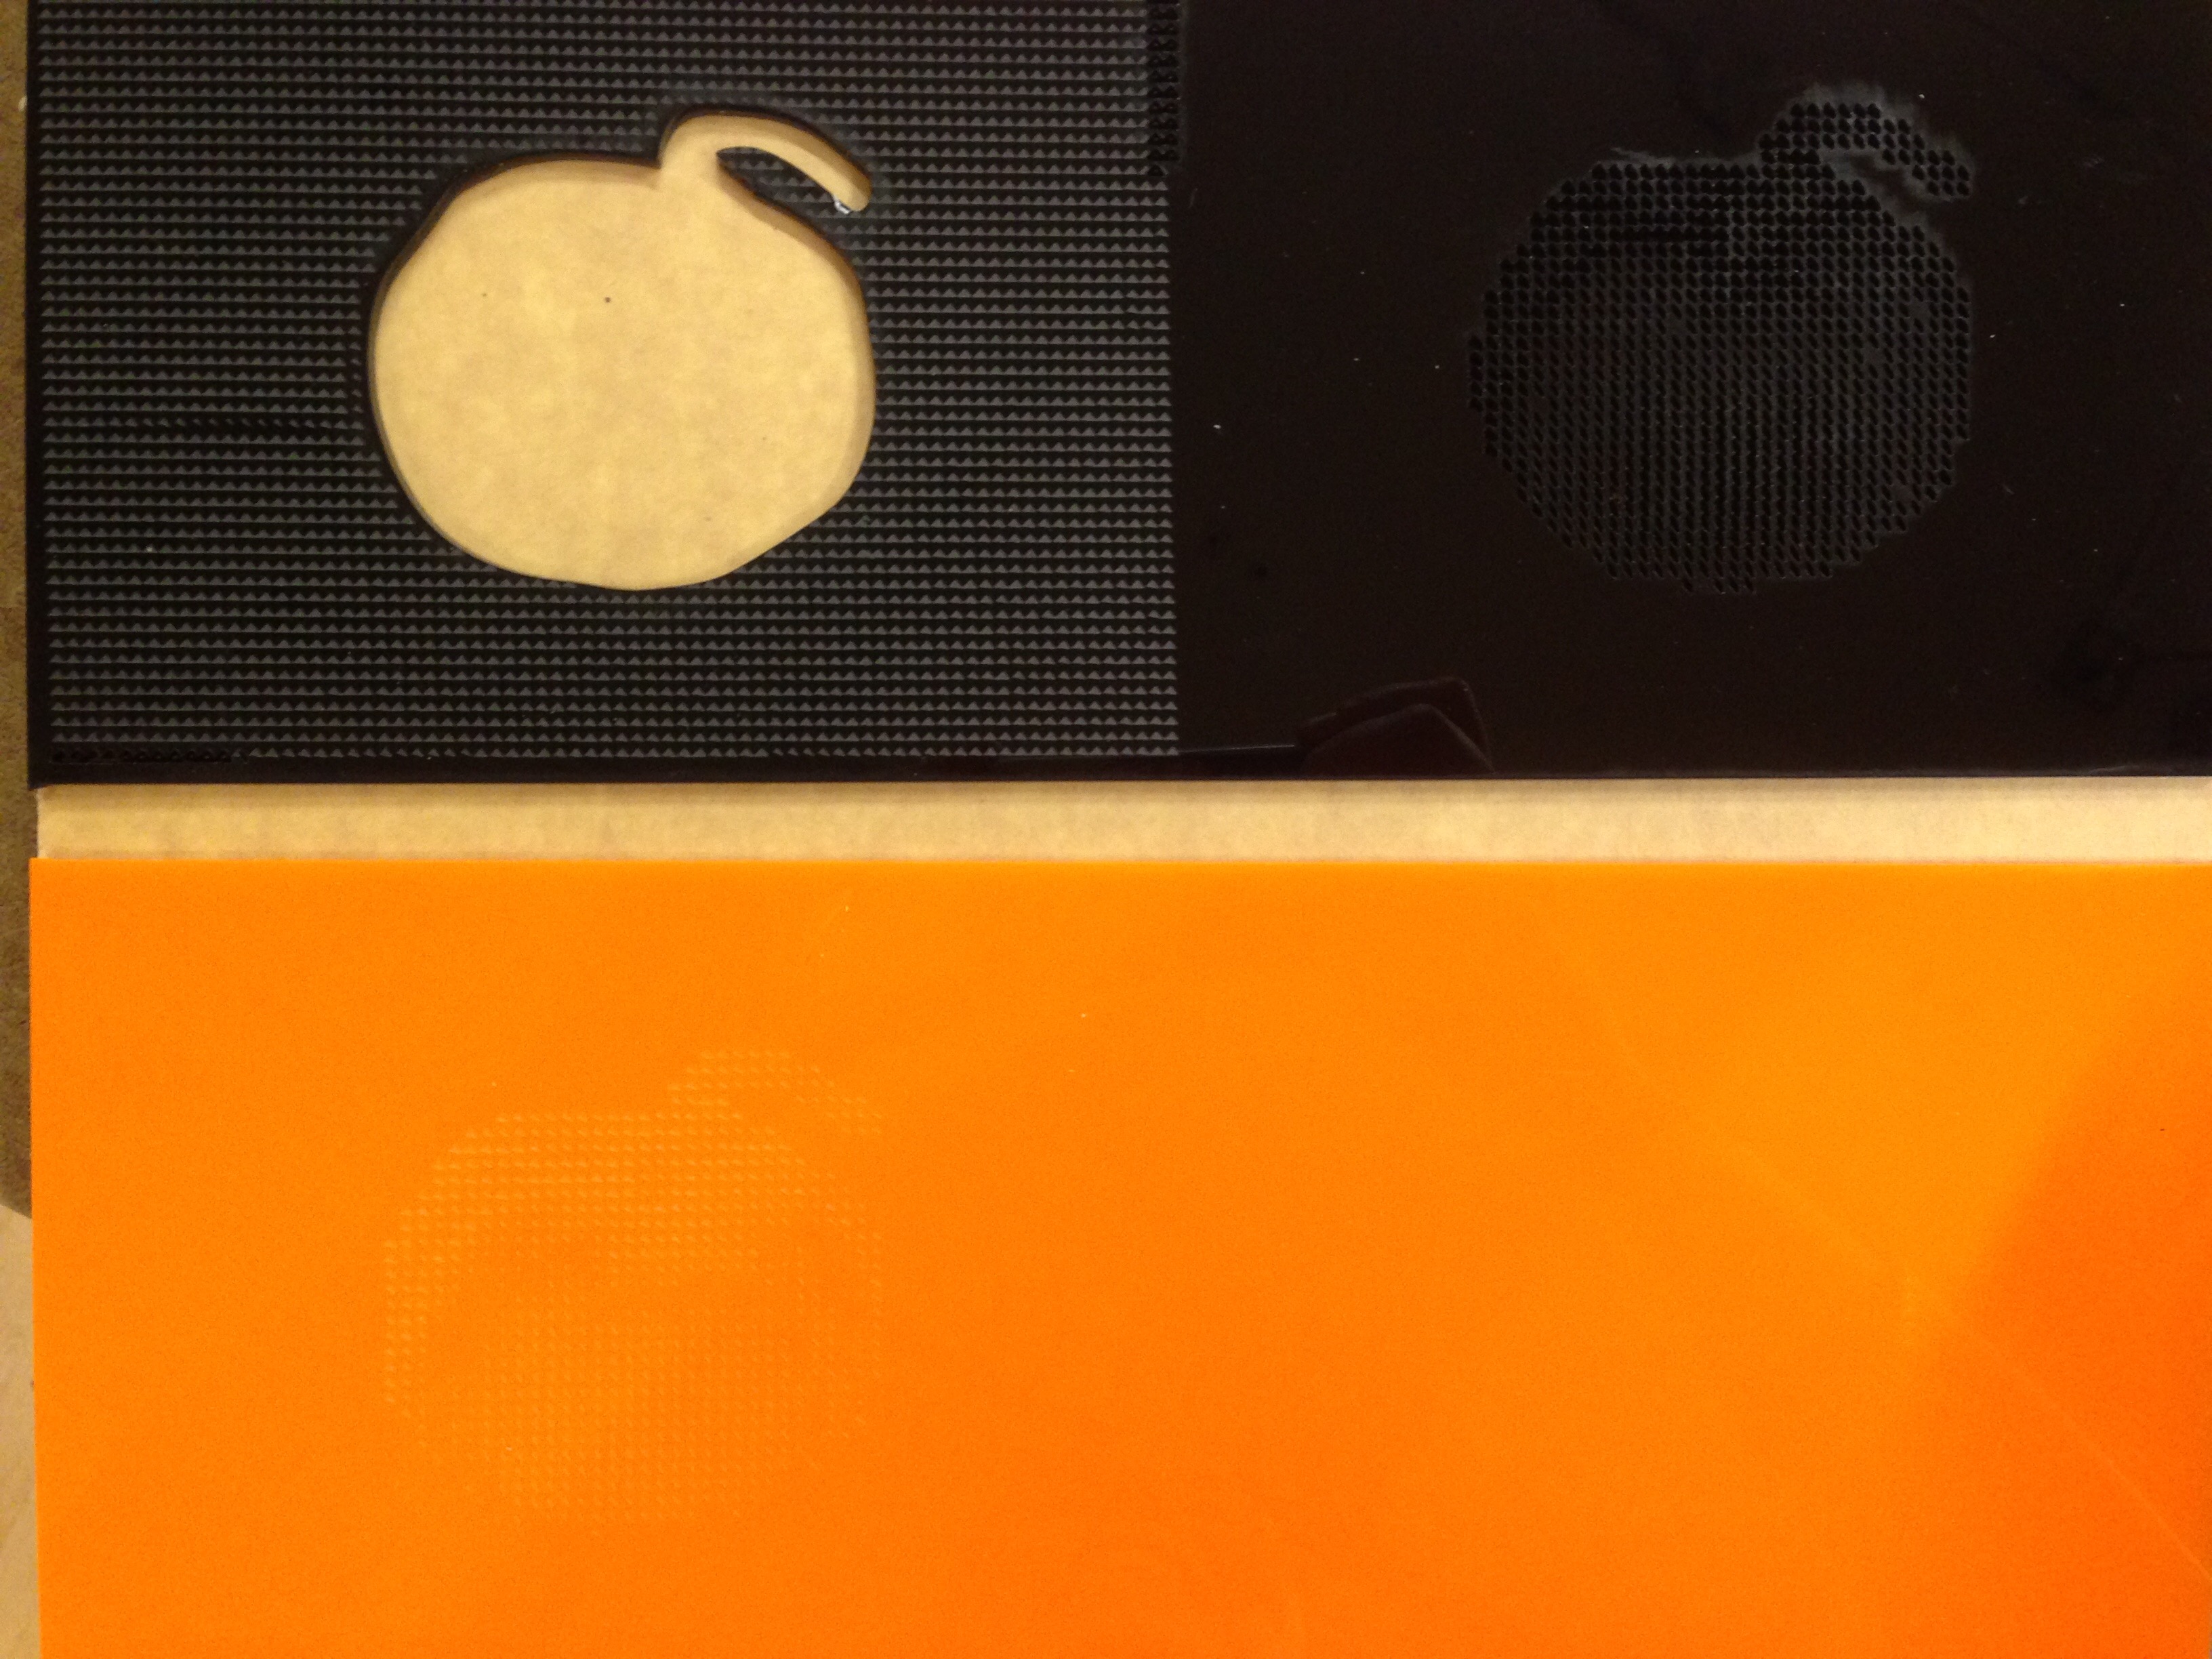
I pulled the above generated DFX file into illustrator and from here I set up the final design. Layering black (opaque) and orange (opaque) acrylic, I wanted to create two side-by-side pumpkins that showed the etchings and carvings to reveal the orange color beneath. I added two pumpkins next to each other in illustrator and selected which paths I wanted to be vector cut versus raster engraved. I also created a path outlining the pumpkin to vector cut.
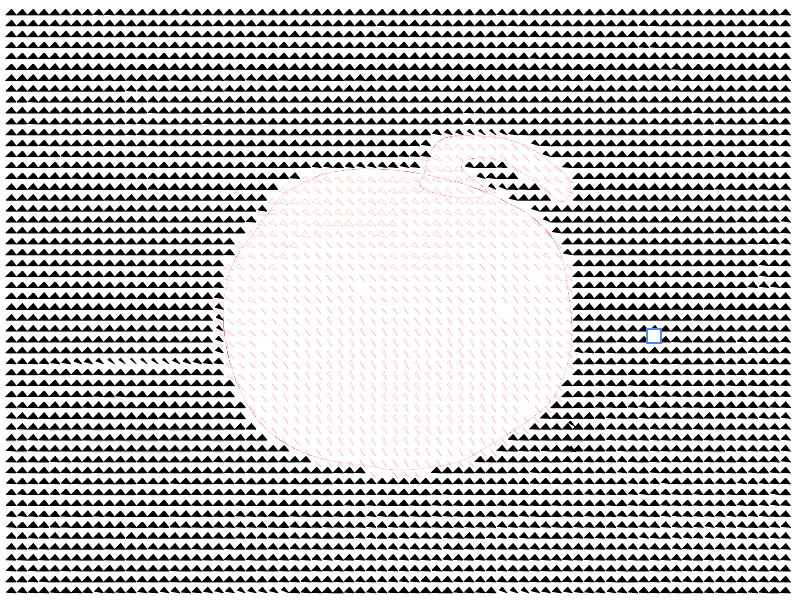
This is a combination of both pumpkin paths for the black acrylic sheet.
I etched onto the black and after a great pass over, etching perfectly, the laser began to vector cut, even though that was not in the print setup. I realized that this was due to the fact that the paths in black were not only fill, they still had the outline in black, which somehow caused this.
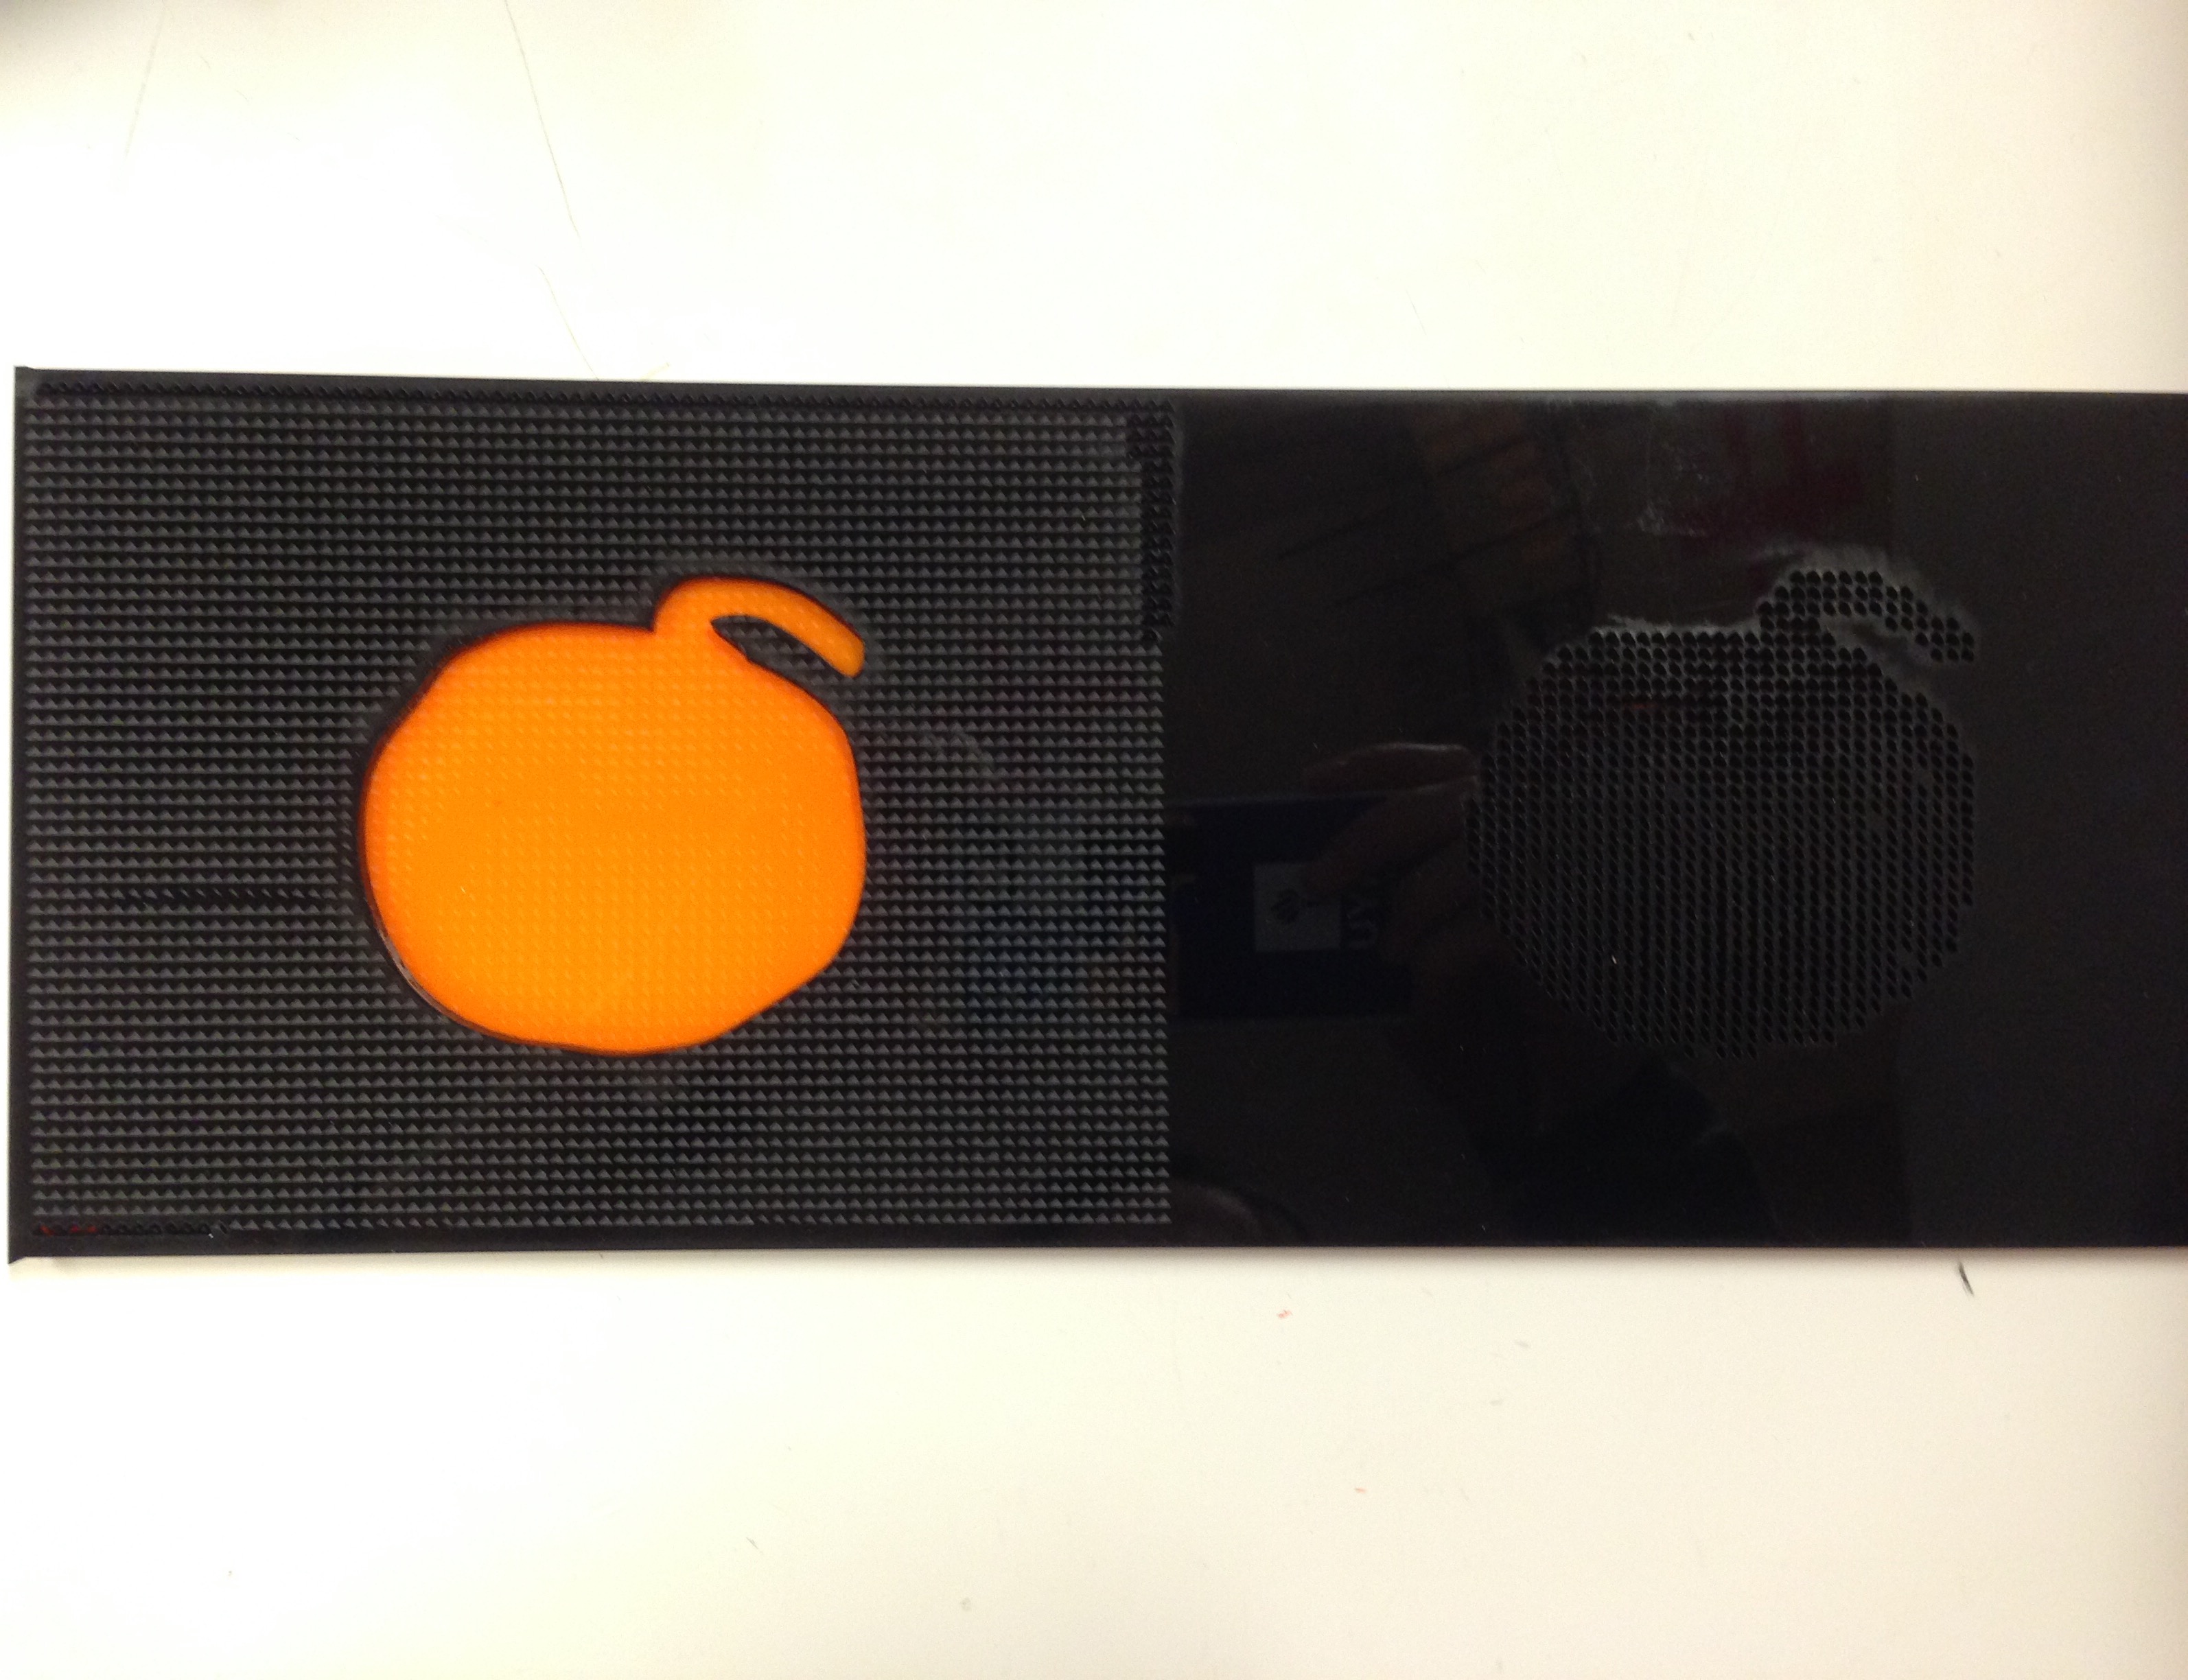
The pumpkin on the right side is almost like some sort of illusion because depending on what angle you view the object, you can see the orange beneath.


Leave a Reply